Dialogues are very common components used in web development. With the help from Angular Material, you can easily create nice-looking dialogues to your Angular application.
This article will guide you through on how to add dialogues to your Angular application using Angular Material. We’ll also give you a couple of examples on how to use Angular Material dialogues, showcasing their functionalities and styling.
How To Use Angular Material Dialog
In order to add a dialog, you need to import the module MatDialogModule to your Angular module (in my case I imported it to app.module.ts):
import {
  MatDialog,
  MAT_DIALOG_DATA,
  MatDialogRef,
  MatDialogModule,
} from "@angular/material/dialog";

...

imports: [
  ...
  MatDialogModule,
],What we can do now is declaring our MatDialogRef object and inject the MatDialog service into our Angular component class, like this:
import { Component } from "@angular/core";
import { MatDialog, MatDialogRef } from "@angular/material/dialog";

@Component({
  selector: "app-dialog",
  templateUrl: "./dialog.component.html",
  styleUrls: ["./dialog.component.scss"],
})
export class DialogComponent {
  dialogRef!: MatDialogRef<SimpleDialogComponent, any>;
  constructor(public dialog: MatDialog) {}
}You may notice that we declared our object with the Angular component SimpleDialogComponent. This is the component which will be displayed inside the dialog, here’s how it looks like:
import { Component, Inject } from "@angular/core";
import { MAT_DIALOG_DATA } from "@angular/material/dialog";

@Component({
  selector: "app-simple-dialog",
  template: ` <h1>Hello World</h1>`,
  styles: [],
})
export class SimpleDialogComponent {
  constructor() {}
}
Now, we have a MatDialogRef object, a component to display inside the dialog and an instance of the dialog service. The next step for us is to create a function in our component which calls the Open() function in the dialog service:
openDialog(): void {
    this.dialogRef = this.dialog.open(SimpleDialogComponent, {
      width: "600px",
      height: "600px",
    });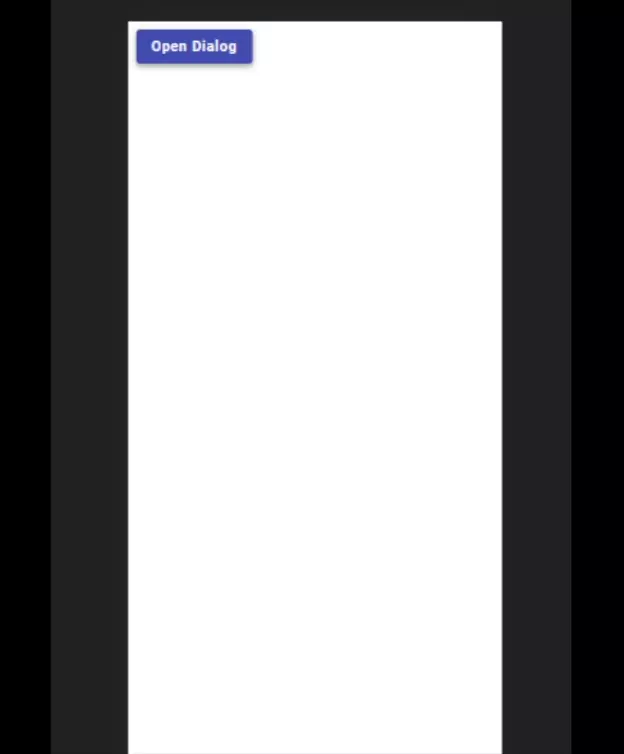
}Let’s now add a button to our component which calls this function when clicked:
<button mat-raised-button color="primary" (click)="openDialog()">Open Dialog</button>And voila! Here’s our clickable button which opens up a simple but elegant dialog, all using Angular Material:
How to Send Input to Angular Material Dialog
The simple dialog above is great but you often run into situations where you need to send in some kind of data to your dialog. Fortunately, you’re in luck since this is very easy to do using the Angular Material class MatDialogConfig.
When calling the Open() function, you have the option of sending in options as the second parameter. The parameter, options, is of the type MatDialogConfig. You can find how the class, MatDialogConfig, looks like here on GitHub.
The property where we’ll send in our data is obviously data. So, let’s send in some data and display it in our dialog:
this.dialogRef = this.dialog.open(SimpleDialogComponent, {
      width: "600px",
      height: "600px",
      data: { name: "Vincent" },
});But what if I want to send in dynamic data from an input field? That’s also easy to accomplish using the built-in two-way binding in Angular.
Let’s add the variable to our component, in which we’ll store the name you type in into the input-field:
import { Component } from "@angular/core";
import { MatDialog, MatDialogRef } from "@angular/material/dialog";

@Component({
  selector: "app-dialog",
  templateUrl: "./dialog.component.html",
  styleUrls: ["./dialog.component.scss"],
})
export class DialogComponent {
  dialogRef!: MatDialogRef<SimpleDialogComponent, any>;
  name = "";
  constructor(public dialog: MatDialog) {}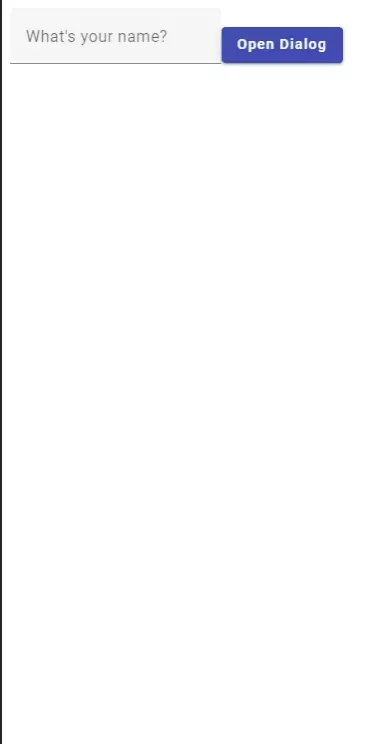
}Now, we can bind it to an input field using the ngModel directive:
<mat-form-field class="example-full-width">
  <mat-label>What's your name?</mat-label>
  <input matInput placeholder="Name" [(ngModel)]="name" />
</mat-form-field>

<button mat-raised-button color="primary" (click)="openDialog()">
  Open Dialog
</button>Lastly, we need to update the template of our component used inside our dialog and inject the data into it:
import { Component, Inject } from "@angular/core";
import { MAT_DIALOG_DATA } from "@angular/material/dialog";
@Component({
selector: "app-simple-dialog",
template: ` <h1>Hello {{ data.name }}</h1>`,
styles: [],
})
export class SimpleDialogComponent {
constructor(@Inject(MAT_DIALOG_DATA) public data: { name: string }) {}
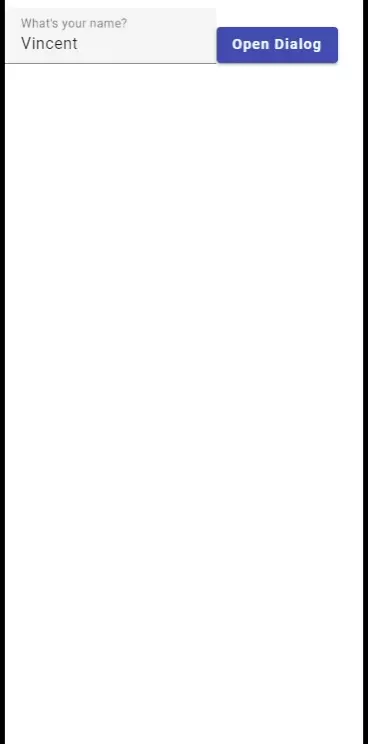
}
If we now run our application we are able to input our name and then displaying it inside the dialog:
Subscribe To Dialog Events
As a last thing, we’ll subscribe to dialog events such as opening and closing the dialog. When an event triggers we will update the button text. We will subscribe to the opening and closing events inside the function openDialog() from our previous example:
import { Component } from "@angular/core";
import { MatDialog, MatDialogRef } from "@angular/material/dialog";
import { SimpleDialogComponent } from "../simple-dialog/simple-dialog.component";

@Component({
  selector: "app-dialog",
  templateUrl: "./dialog.component.html",
  styleUrls: ["./dialog.component.scss"],
})
export class DialogComponent {
  dialogRef!: MatDialogRef<SimpleDialogComponent, any>;
  name: string = "";
  buttonText: string = "Open Dialog";
  constructor(public dialog: MatDialog) {}

  openDialog(): void {
    this.dialogRef = this.dialog.open(SimpleDialogComponent, {
      width: "600px",
      height: "600px",
      data: { name: this.name },
    });

    this.dialogRef.afterOpened().subscribe((res) => {
      this.buttonText = "Close Dialog";
    });

    this.dialogRef.afterClosed().subscribe((res) => {
      this.buttonText = "Open Dialog";
    });
  }
}
And then display the value of buttonText in our button inside the template:
<mat-form-field class="example-full-width">
  <mat-label>What's your name?</mat-label>
  <input matInput placeholder="Name" [(ngModel)]="name" />
</mat-form-field>

<button mat-raised-button color="primary" (click)="openDialog()">
  {{ buttonText }}
</button>This is the result:
Conclusion
This short tutorial about Angular Material Dialog have showed you how to add a simple dialog to your Angular application and also how to send data into it.
I hope you enjoyed following this tutorial and don’t forget that we also have plenty more tutorials and articles about Angular Material and Angular here.
This tutorial is part of a collection of Angular Material tutorials, you can check out all other tutorials in that collection here.