In this article, we’ll guide you through how to set up your development environment to run JavaScript and TypeScript in VS Code. If you’re just starting your coding journey, this guide will help you get up and running quickly.
Setup Your Dev Environment
Now, let’s get to the practical steps of setting up your development environment.
Install Visual Studio Code
If you haven’t already, download and install Visual Studio Code from the official website (https://code.visualstudio.com/).
Install Node.js
Node.js is essential if you want to run JavaScript and TypeScript code locally.
Download and install Node.js from the official website (https://nodejs.org/). Node.js comes with npm (Node Package Manager), which allows you to manage JavaScript packages easily.
Install the Visual Studio Code Extensions
VS Code offers a wide range of extensions to enhance your development experience. To install extensions for JavaScript and TypeScript development in VS Code, follow the steps described below:
- Launch VS Code.
- Go to the Extensions view by clicking on the square icon on the sidebar or using the keyboard shortcut
Ctrl+Shift+X(Windows/Linux) orCmd+Shift+X(macOS). - Search for and install the following extensions:
- ESLint: This extension helps you maintain code quality by highlighting and fixing issues in your JavaScript and TypeScript code.
- Prettier – Code formatter: Prettier is a code formatter that automatically formats your code for consistency and readability.
Create Your Project
You can start a new project or open an existing one in VS Code, it doesn’t matter for this tutorial.
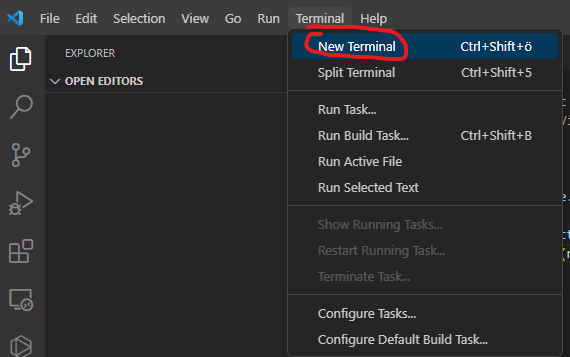
To create a new project, open the terminal integrated in VS Code and use the following commands:

For JavaScript:
mkdir my-javascript-project
cd my-javascript-project
touch index.js
For TypeScript:
mkdir my-typescript-project
cd my-typescript-project
touch index.ts
Write and Run Code
With your project set up, you can now write your JavaScript or TypeScript code in the index.js or index.ts files, respectively.
Let’s add the following code to index.js/index.ts to print out Hello World when we run our script:
console.log("Hello World");Save your changes. You’re now ready to run your code.
Use the following command to run your JavaScript code:
node index.jsFor TypeScript, you’ll need to transpile the TypeScript code to JavaScript first, with the following command:
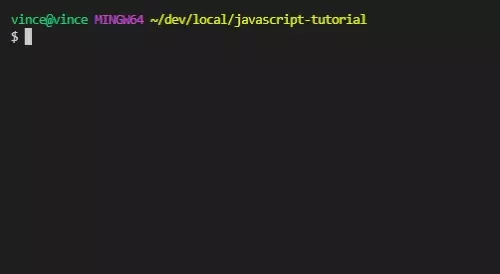
tsc index.ts && node index.jsHere’s what it looks like when we run our script:

Congratulations! You’ve successfully set up your environment for running JavaScript and TypeScript in Visual Studio Code.
Conclusion
By following the easy steps outlined throughout this tutorial, you can set up your development environment and simplify your coding workflow.
We guide you through each step using code examples and images to make it as easy for you to follow as possible.
We hope you found this article interesting. If you have ever wondered what type of methods exist for caching data for websites, then look no further. Learn about cookies, localStorage, and sessionStorage here!

